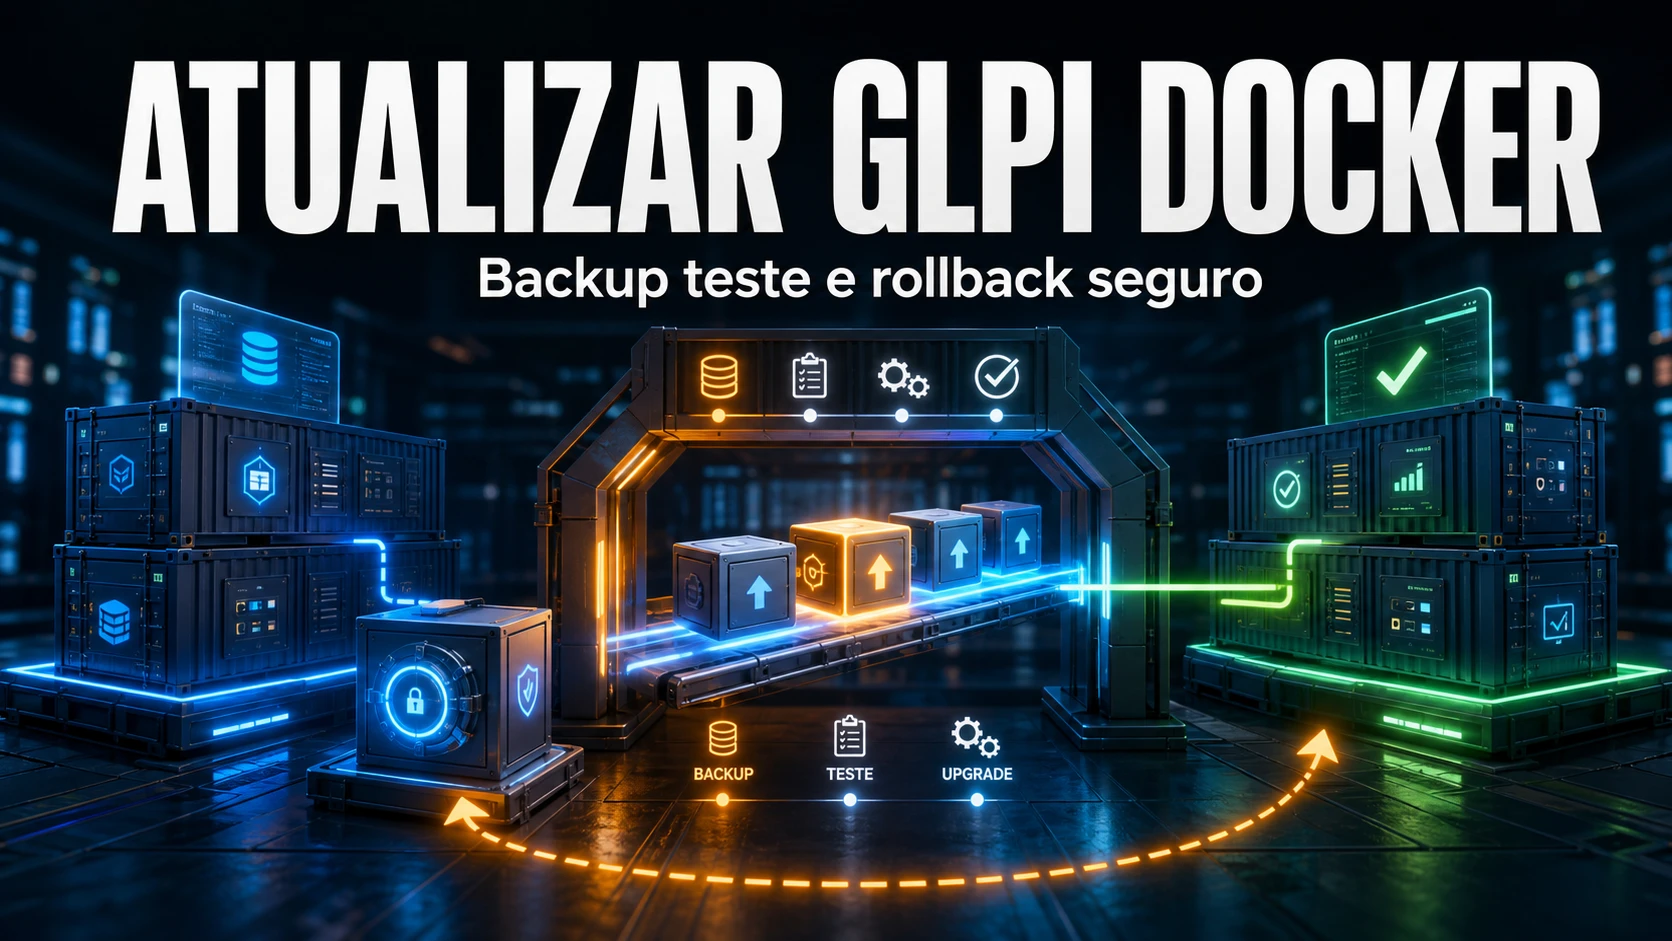
Updating GLPI in Docker is safer and faster than on bare metal – just change the image tag and run the migration. But a pre-update backup is non-negotiable.
Prerequisites
- Full backup of the database and volumes (see backup guide)
- Check plugin compatibility with the new version
- Test in a staging environment first
Step by step
1. Backup
docker exec glpi-db mysqldump -u glpi -pSENHA glpi | gzip > /backup/pre-update.sql.gz
tar -czf /backup/pre-update-volumes.tar.gz /opt/glpi/
2. Stop containers
docker compose down3. Update the image
In docker-compose.yml, change the tag:
# From:
image: glpi/glpi:10.0.17
# To:
image: glpi/glpi:11.0
4. Start with the new version
docker compose up -d5. Run the database migration
docker exec -it glpi-app php bin/console db:update --no-interaction6. Clear cache
docker exec -it glpi-app php bin/console cache:clear7. Verify
Access GLPI, check the version in Configuration > General and test the main features.
Rollback
If something goes wrong:
docker compose down
# Restore database
gunzip < /backup/pre-update.sql.gz | docker exec -i glpi-db mysql -u root -pSENHA glpi
# Revert to previous image in docker-compose.yml
docker compose up -d